Appearance
New Installation Steps
STEP 1 - Create a Service User
Create a user that is a member of the local Administrators group. (Alternatively, you may use a domain account but you still need to make sure it is in the Administrators group for the local machine)
STEP 2 - Prepare SQL Database
AlphaTrust® e-Sign requires a connection to a Microsoft SQL Server 2016, 2017, or 2019 database. Only the database engine is required. Any edition of SQL Server (Express, Web, Standard, or Enterprise will work. Express has database size limits, but is fine for development or small installations). SQL Server may be installed locally or remotely. SQL Server installation and configuration is not covered here.
Using SQL Server Management Studio:
Please ensure you are currently logged in to SQL with dbo permissions. If not, you will need to login to the SQL Server using an account with rights to create and modify databases.
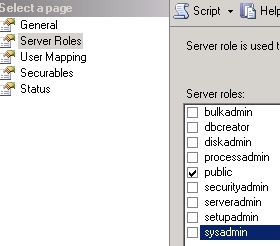
If you plan for the AlphaTrust® e-Sign software to use Windows authentication to SQL Server, define a database login for the ProntoServer Windows local machine account and grant that login Public role access as seen below. If you plan for the AlphaTrust® e-Sign software to use SQL Server authentication, create a SQL user account named ProntoUser. This ProntoUser account must be granted Public role access.
Using SQL Server Management Studio, open the
ProntoSQL-CreateDB-SQLServer.sqlscript located in the initial zip file download or, once the installer run has been completed, in the\AlphaTrust\Pronto\Setup\SQL\folder. You will need to edit these settings before running the script: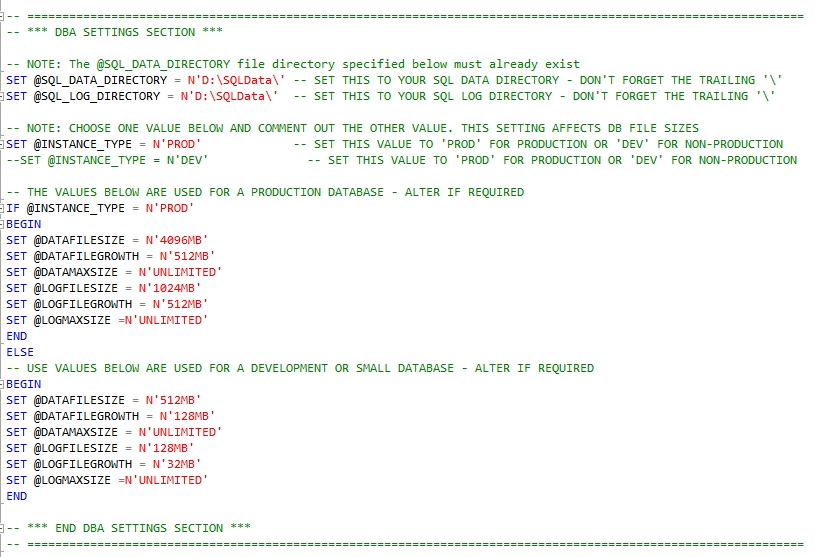
This script can be used to create the
Prontodatabase required by AlphaTrust® e-Sign. You need to edit at least three entries before running the script.- Set the
@SQL_DATA_DIRECTORYvariable to the full directory path you wish to use for the database files, This directory must already exist. - Set the
@SQL_LOG_DIRECTORYvariable to the full directory path you wish to use for the log files, This directory must already exist. - Set the
@INSTANCE_TYPEvariable to either the value'PROD'or'DEV'. This controls the initial size of the database files.
- Set the
If you have multiple data drives it can improve database performance to separate the database files and log files onto separate drives.
Using SQL Server Management studio, open the
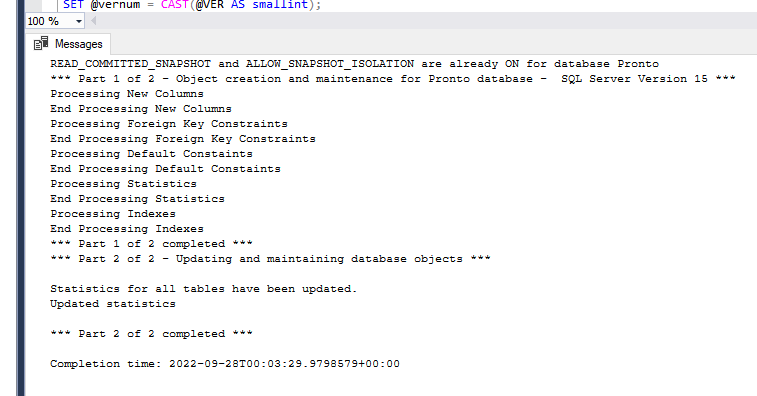
ProntoSQL-UpdateDB-Pronto.sqlscript (andProntoSQL-UpdateStatistics.sqloptionally if necessary) located in the\AlphaTrust\Pronto\Setup\SQL\folder.After you open the script, change the selected database in SSMS to
Pronto.Run this script to create all the required database objects in both databases. Check for successful completion messages:
Grant either the service account (if using Windows authentication) or the SQL User account (if using SQL authentication) public access to the new Pronto database:
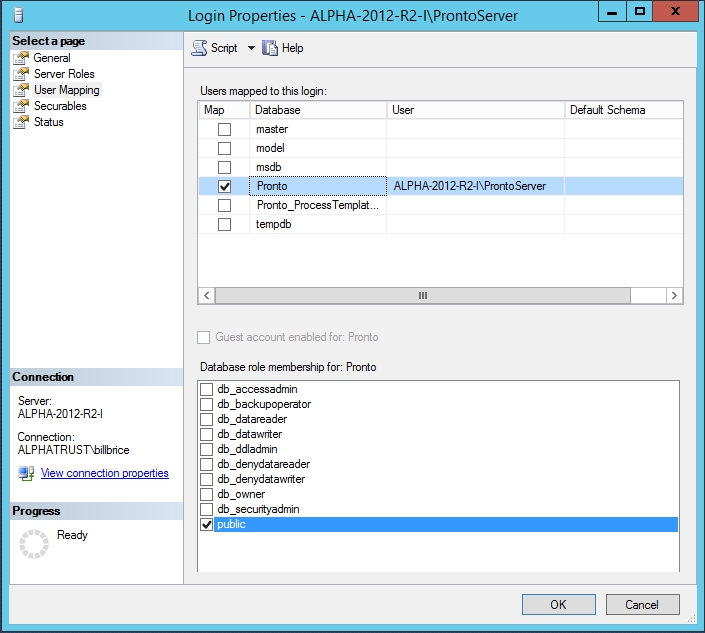
As this point you will have the Pronto databases. If using Windows authentication the Windows service account will have Public access to the database. If using SQL authentication the ProntoUser SQL account will have Public access to the database.
STEP 3 - Run Installer
Run the AlphaTrust® e-Sign 5.#.#.#.exe installer and follow the instructions.
STEP 4 - License the Software
Follow the steps in the License Activation section to license your software. Once you are finished, return here and continue to step #5.
STEP 5 - Test Installation
Go to http(s)://<your.domain.com>/InstallationTests in a browser to test the installation.
STEP 6 - System Admin Setup
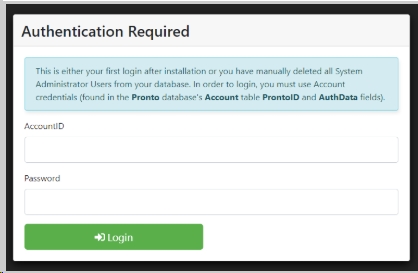
The first thing to do once you have completed your installation or if you are setting up a brand new account is to log in using the Account credentials that you set in your Pronto database (or were provided to you by a System Administrator to use). By default, this login page should be located at: https://<YourDomain.com>/cp/ If the page is prompting you for an Account ID and password, you'll need to first log in using the Account credentials (found in the Pronto database's Account table ProntoID and AuthData fields). If, instead the page is prompting you for a Username and Password, you can skip to step 3.
INFO
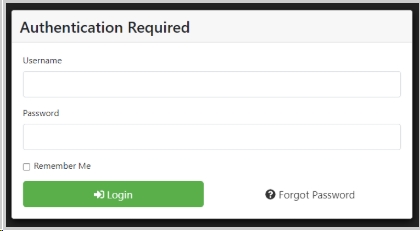
If a System Administration has already been set up for your environment, you will instead see a login screen like the below:
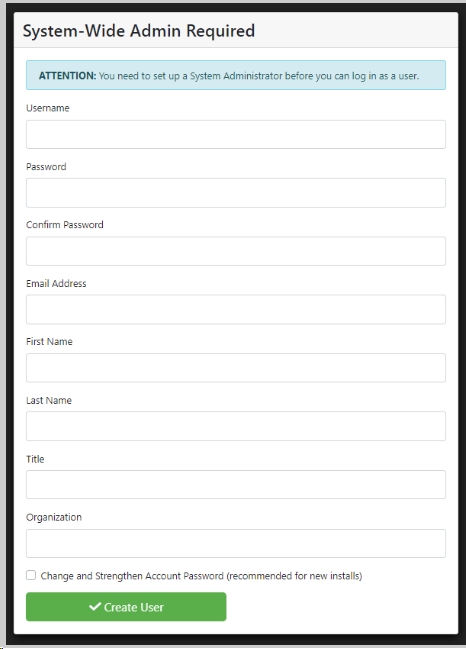
When you log in for the first time using the Account credentials, the only page you can access is the Account > Users section. The system forces you to create a System-Wide Administrator and then you have to log in as that user before the system will give you access to any other portion of the Control Panel site.
Once you log in as a User for the first time, you'll see the Control Panel "Dashboard". It currently has no branding so click on the "Account > Group" link in the top navigation bar. 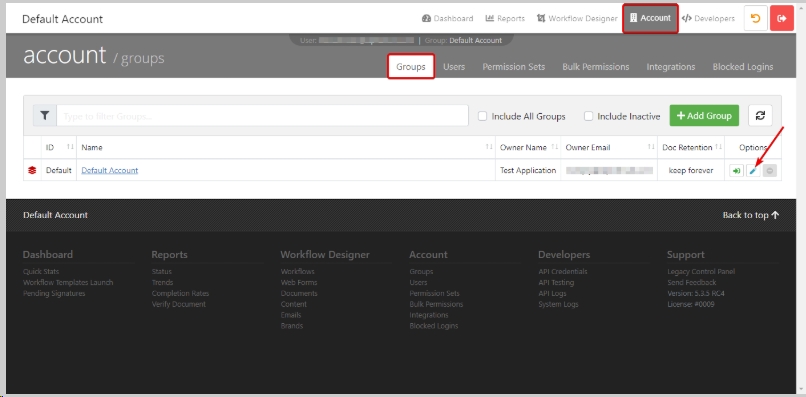
Click the "Logo" tab and browse for your logo on your desktop and then click the "Update Group" button once you've selected the logo you wish to upload. It will then appear in place of the default logo. 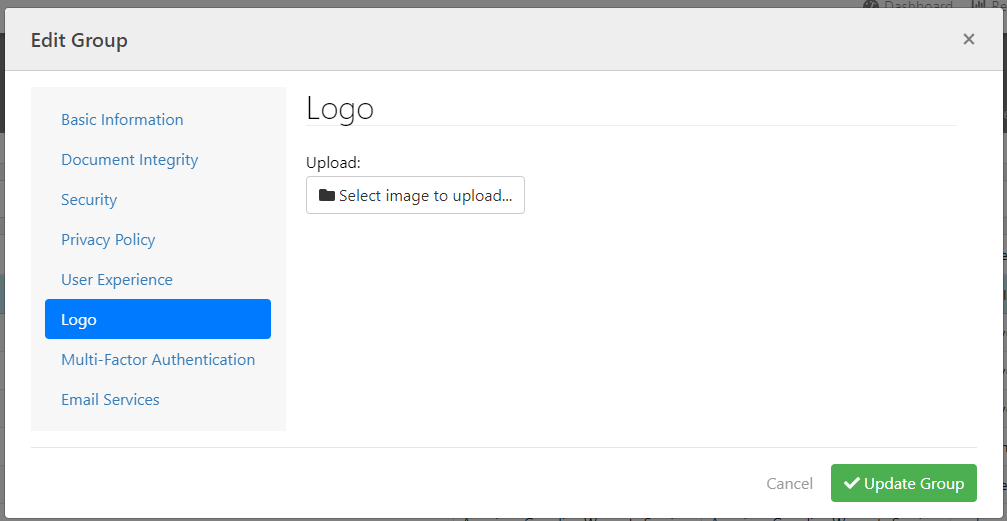
You can also change the Default account Name, Owner, and Email Address here in the Basic tab or create a new account as you see fit from the initials Groups tab.